Fusing Geometric Patterns with Traditional Braiding
Creative hair braiding moves beyond simple lines into angles, diamonds, and chevrons. To create a diamond pattern, start with a center part, then make diagonal parts radiating outward like sun rays. Braid each section as a cornrow, changing direction at the vertex points. Use colored chalk or temporary hair paint to outline the pattern before braiding for precision. Geometric braids work best on short to medium hair because sections stay crisp. They make a bold statement for fashion events, music festivals, or photoshoots. Practice drawing your design on paper first, then on a mannequin with washable marker. Geometric braiding requires patience, but the sculptural results are worth every minute.
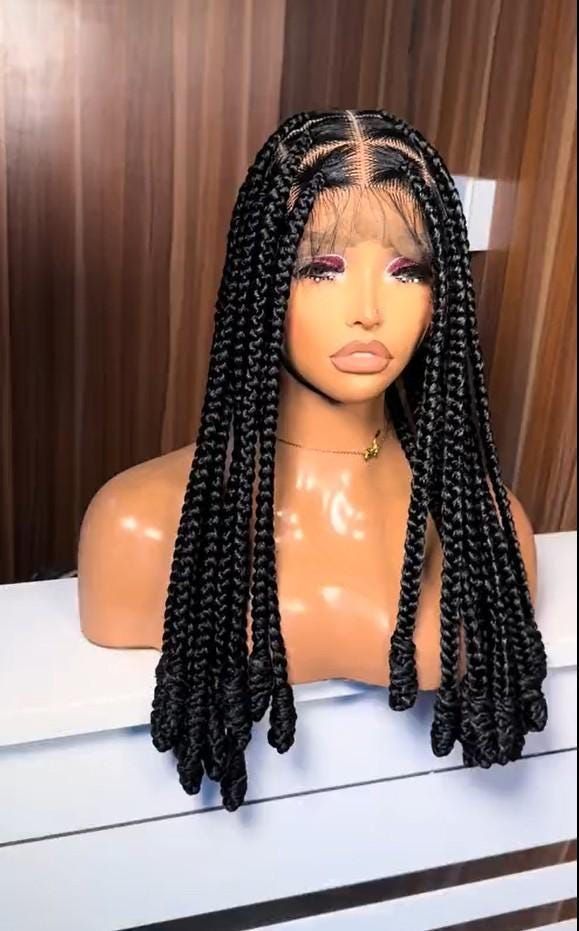
Incorporating Beads, Cuffs, and Thread Wraps
Transform basic braids into wearable art by adding accessories. After completing a braid, slide metal cuffs over the ends and clamp gently. Thread wrap: use embroidery floss in https://www.successhairbraidingmd.com contrasting colors, wrapping tightly around individual braids for a one-inch section, then knotting and trimming. Beads can be pre-strung onto hair before braiding or added afterward using a loop tool. For a bohemian look, mix wooden beads with tiny gold rings. For festivals, use glow-in-the-dark beads or shells. The key is weight distribution—too many beads on fine hair cause slippage. Place accessories strategically at the ends or scattered throughout. These details show off your creativity and make each style unique, perfect for clients wanting personalized designs.
Mixing Textures: Combining Braids with Twists and Curls
No rule says every strand must be braided. Create contrast by braiding the top half of the head and leaving bottom half in loose curls or twist-outs. Or, do two large Dutch braids, then curl the remaining ponytail ends with a wand. For a protective style, box braid the front half and crochet curl the back. Texture mixing adds depth and movement, especially on one-length hair. Use a texturizing spray on the unbraided sections to keep them from looking flat against the braids. This approach reduces braiding time by 40% while maintaining visual interest. It’s ideal for hot, humid climates because the braided part stays neat while curls can be refreshed with water and leave-in conditioner.
Fishtail Variations: Lace, Reverse, and Multi-Strand
Fishtail braids are ripe for creative reinvention. A lace fishtail braids only along the hairline, adding hair from one side only, creating a delicate edge. Reverse fishtail: take strands from underneath the ponytail instead of the top, producing a hidden braid effect. For advanced braiders, try a four-strand fishtail: divide hair into four equal sections, then cross the outermost left strand under two center strands, then cross the outermost right strand under two center strands. Repeat. This creates a woven, almost basket-like texture. Practice each variation on a small, detangled section before attempting full-head styles. These fishtail designs are perfect for brides, pageant contestants, or anyone seeking something beyond standard three-strand braids.
Color Play: Ombre Extensions and Chalked Strands
Creative design often involves color. Clip-in colored extensions add instant vibrancy without commitment—blend pink, blue, or purple streaks into your braids. For temporary color, use soft hair chalk on dry, unwashed hair before braiding; the chalk seeps into the braid for a marbled effect. Ombre braids: dip the last three inches of each braid into semi-permanent dye or fabric paint mixed with conditioner. Let dry completely before styling. These techniques work beautifully on Dutch braids and cornrows, where each ridge shows a different hue. For natural-looking creativity, use shades only two tones lighter or darker than your base color. Colorful braids photograph stunningly and express personality without damaging your natural hair texture.